1.NCNN编译安装
2.模型转换(pt->onnx->ncnn)
$\color{red}{此路不通,转出来的param文件中的Reshape的参数是错的}$
2.1 pt模型转换onnx
# pt-->onnx
python export.py --weights yolov5s.pt --img 640 --batch 1
#安装onnx-simplifier
pip install onnx-simplifier
# onnxsim 精简模型
python -m onnxsim yolov5s.onnx yolov5s-sim.onnx Simplifying...
Finish! Here is the difference:
┏━━━━━━━━━━━━┳━━━━━━━━━━━━━━━━┳━━━━━━━━━━━━━━━━━━┓
┃ ┃ Original Model ┃ Simplified Model ┃
┡━━━━━━━━━━━━╇━━━━━━━━━━━━━━━━╇━━━━━━━━━━━━━━━━━━┩
│ Add │ 10 │ 10 │
│ Concat │ 17 │ 17 │
│ Constant │ 20 │ 0 │
│ Conv │ 60 │ 60 │
│ MaxPool │ 3 │ 3 │
│ Mul │ 69 │ 69 │
│ Pow │ 3 │ 3 │
│ Reshape │ 6 │ 6 │
│ Resize │ 2 │ 2 │
│ Sigmoid │ 60 │ 60 │
│ Split │ 3 │ 3 │
│ Transpose │ 3 │ 3 │
│ Model Size │ 28.0MiB │ 28.0MiB │
└────────────┴────────────────┴──────────────────┘2.2 使用onnx2ncnn.exe 转换模型
- 把你的
ncnn/build/tools/onnx加入到环境变量
onnx2ncnn yolov5s-sim.onnx yolov5s_6.0.param yolov5s_6.0.bin2.3 调用测试
将yolov5s_6.0.param 、yolov5s_6.0.bin模型copy到ncnn/build/examples/位置,运行下面命令
./yolov5 image-path就会出现Segmentation fault (core dumped)的报错
3.模型转换(pt->torchscript->ncnn)
3.1 pt模型转换torchscript
# pt-->torchscript
python export.py --weights yolov5s.pt --include torchscript --train
3.2 下载编译好的 pnnx 工具包执行转换
- pnnx下载地址:https://github.com/pnnx/pnnx
- 执行转换,获得
yolov5s.ncnn.param和yolov5s.ncnn.bin模型文件,指定 inputshape 并且额外指定 inputshape2 转换成支持动态 shape 输入的模型
./pnnx yolov5s.torchscript inputshape=[1,3,640,640] inputshape2=[1,3,320,320]3.3 调用测试
直接测试的相关文件下载:yolov5_pnnx.zip
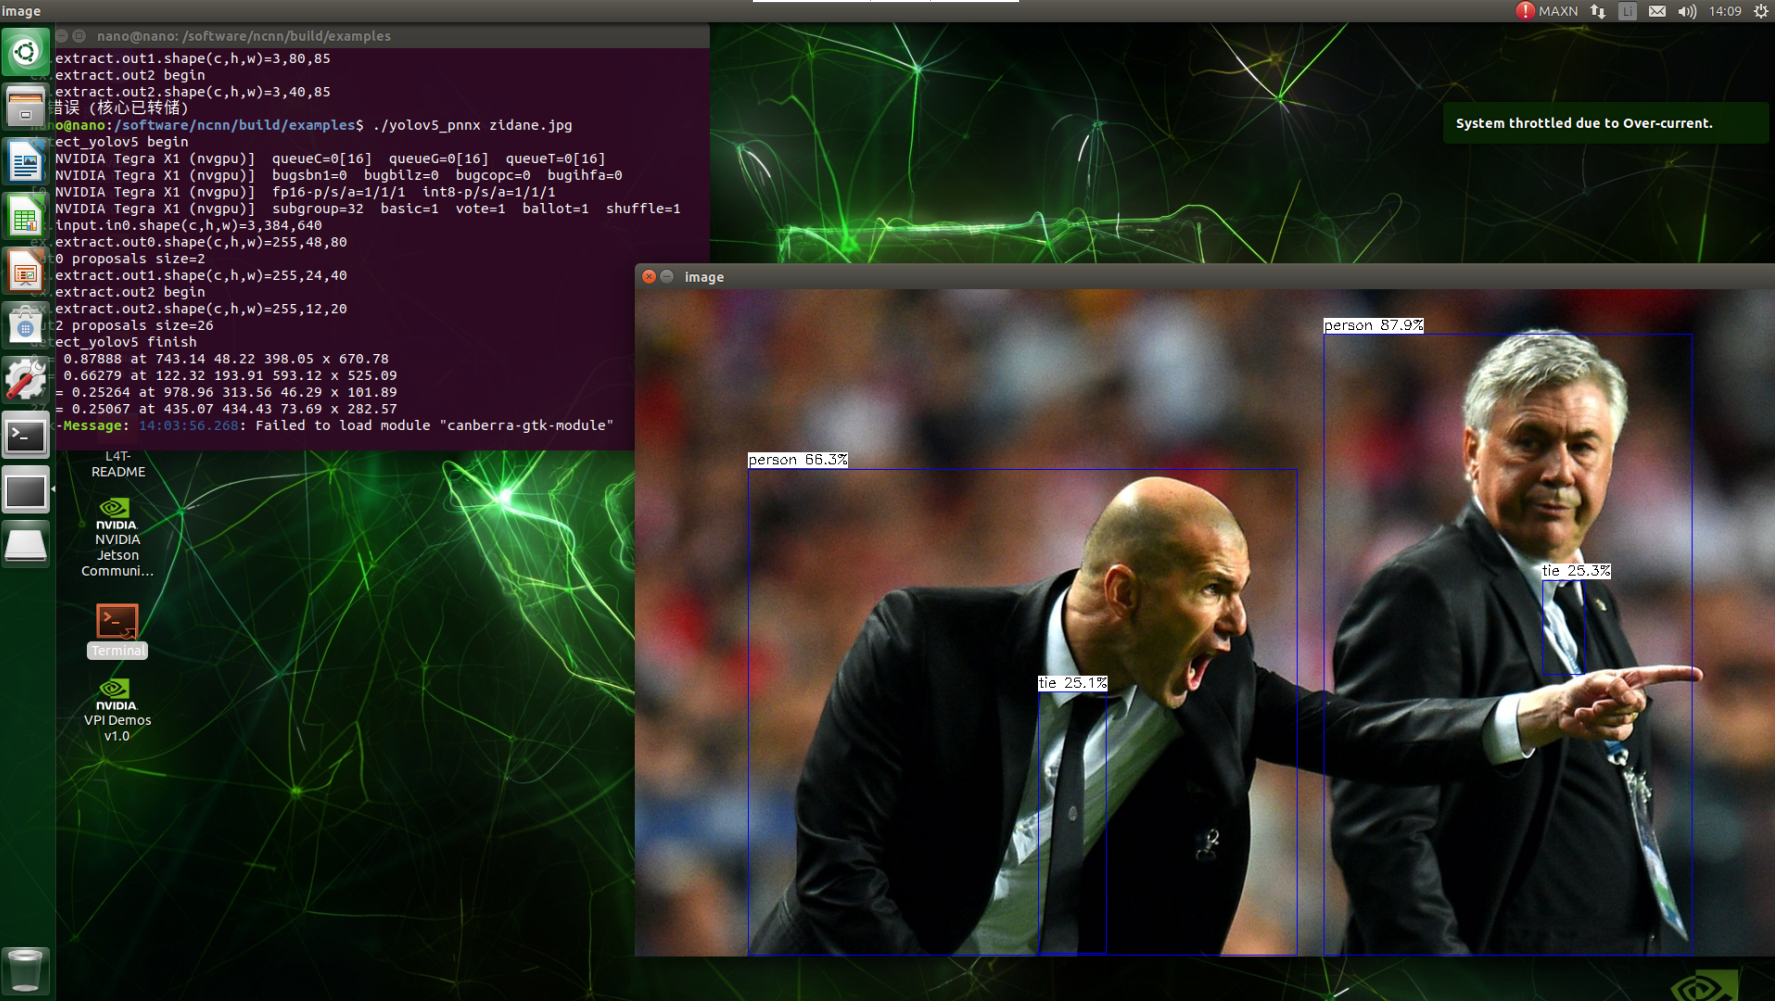
将 yolov5s.ncnn.param 和 yolov5s.ncnn.bin 模型copy到ncnn/build/examples/位置,运行下面命令
./yolov5_pnnx image-path

评论 (0)