TYPORA自动上传图片配置,集成PICGO-CORE,文件以时间戳命名
一、下载PICGO-CORE
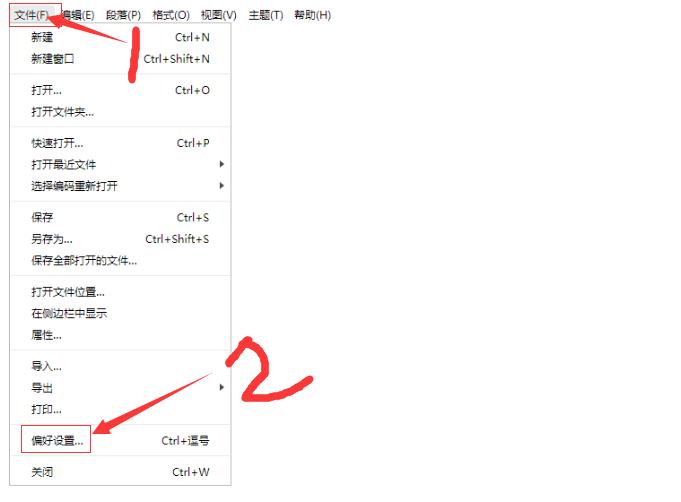
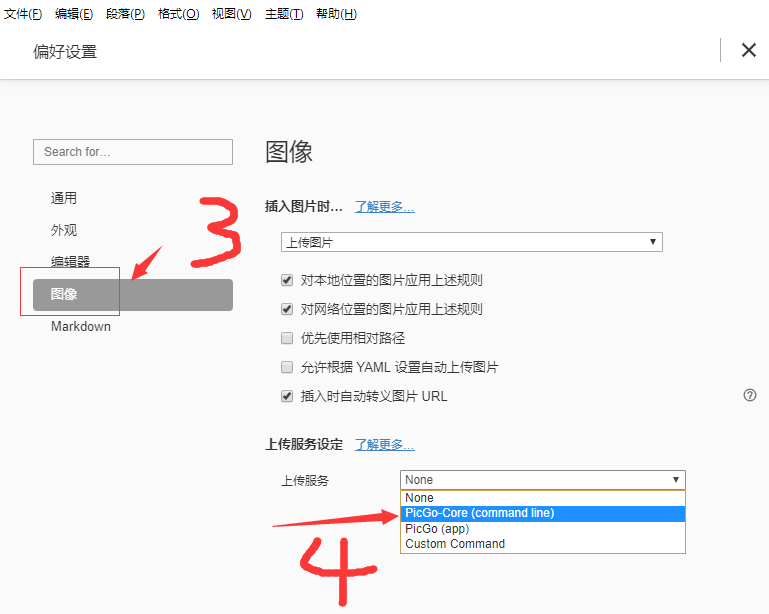
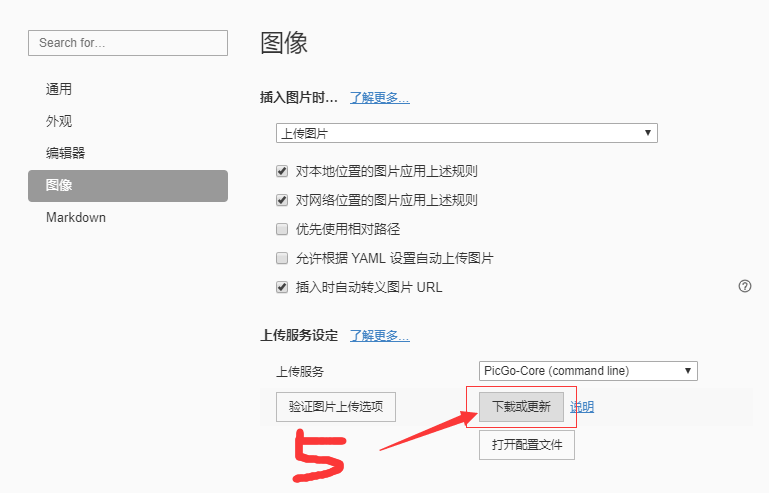
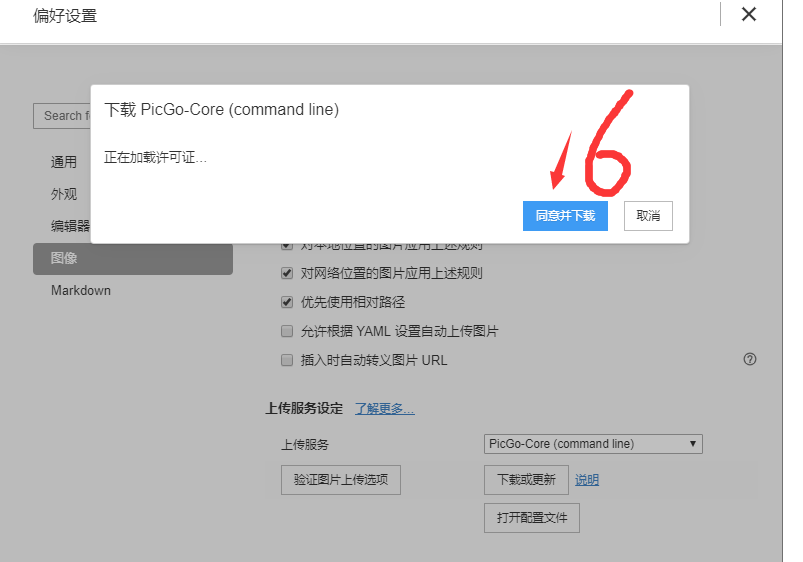
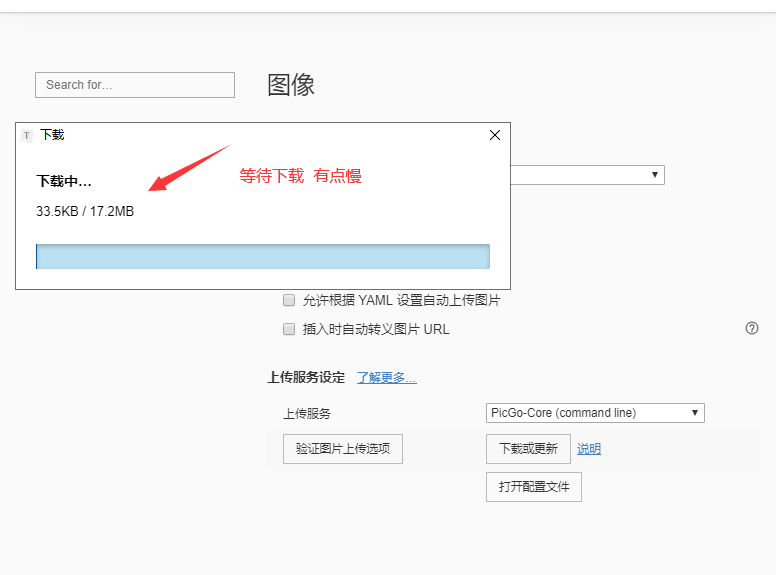
二、配置PICGO-CORE的图床
1、GITEE账号配置
- 先有一个gitee账号,官网:https://gitee.com/
- 创建一个仓库,用于存储图片
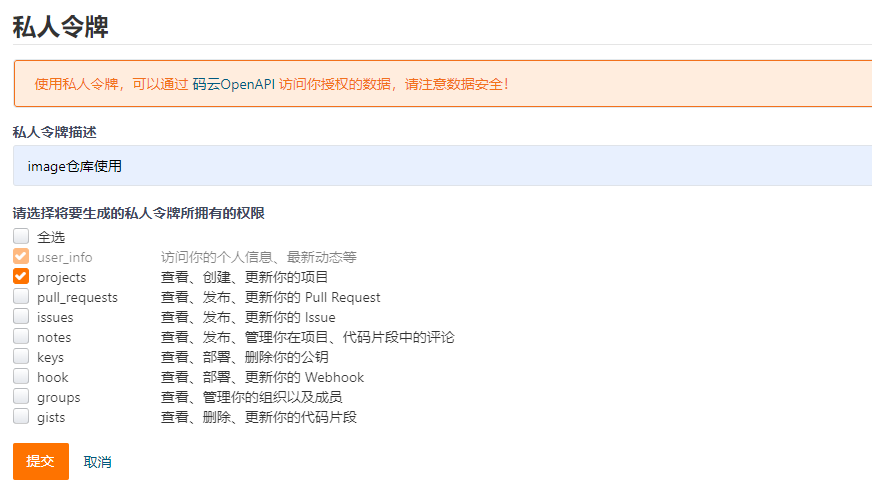
生成一个token用于PicGo操作你的仓库(生成后的token务必自己保存下,防止丢失)
访问:https://gitee.com/profile/personal_access_tokens
2、安装NODEJS
因为使用gitee作为图床,需要下载gitee-uploader插件,而下载插件又需要nodejs的运行时环境
- 下载地址:https://nodejs.org/en/
- 安装node-v12.16.2-x64.msi文件,一路next就可以了
3、下载插件
需要下载两个插件
gitee-uploader(用于使用gitee作为图床)
super-prefix(用于上传图片时能自动使用时间戳重命名)
查询之前安装的PicGo执行路径
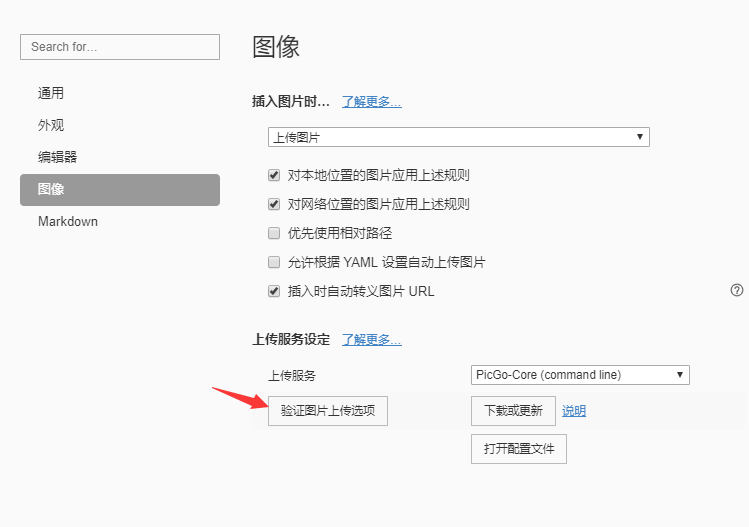
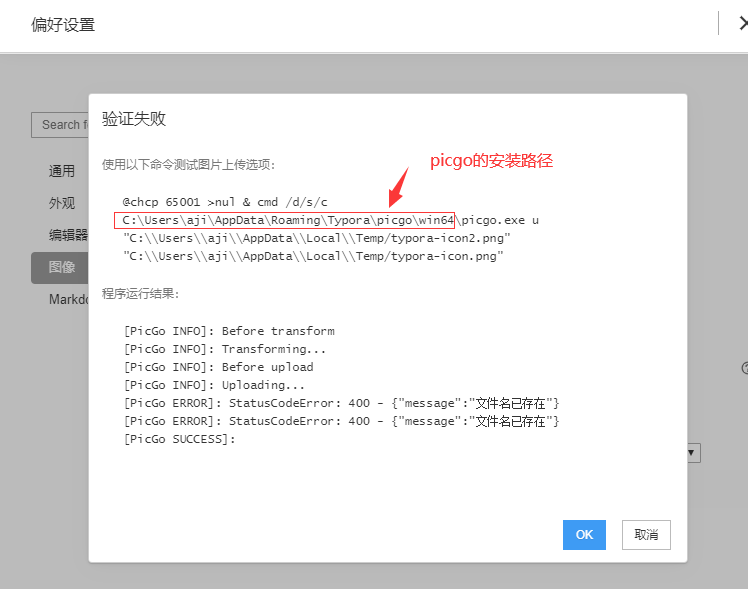
拷贝路径后进入cmd操作
cd C:\Users\aji\AppData\Roaming\Typora\picgo\win64
.\picgo.exe install gitee-uploader
.\picgo.exe install super-prefix
均下载成功即可,如:


4、修改配置文件
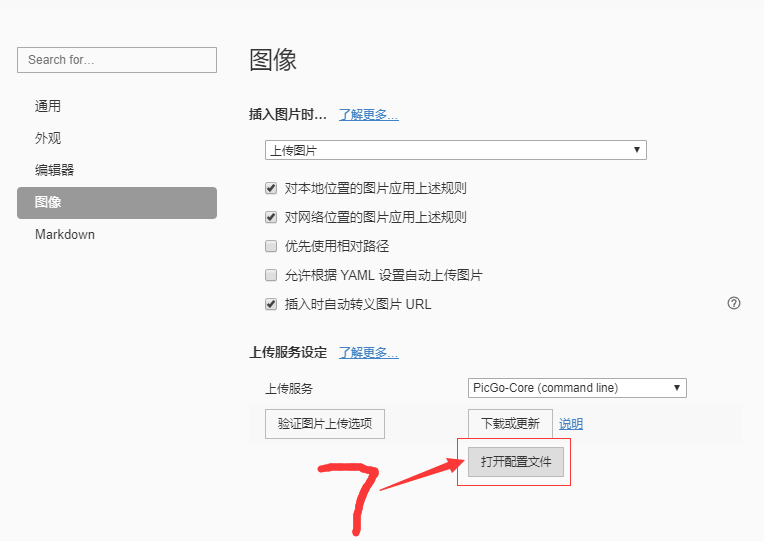
修改为如下内容:
{
  "picBed": {
    "uploader": "gitee", // 代表当前的上传图床
    "gitee": {
      "repo": "", // 仓库名,格式是 username/reponame 必填
      "token": "", // gitee 私人令牌 必填
      "path": "", // 自定义存储路径,比如 img/ 建议填
      "customUrl": "", // 自定义域名(没有自己的域名的话,可以默认为空就行),注意要加http://或者https://
      "branch": "" // 分支名,默认是 master
    }
  },
  "picgoPlugins": {
    "picgo-plugin-gitee-uploader": true,
    "picgo-plugin-super-prefix": true
  }, // 为插件预留
  "picgo-plugin-super-prefix": {
    "fileFormat": "YYYYMMDDHHmmss"
  } //super-prefix插件配置
}
三、验证功能
上述配置完成后,可以验证下
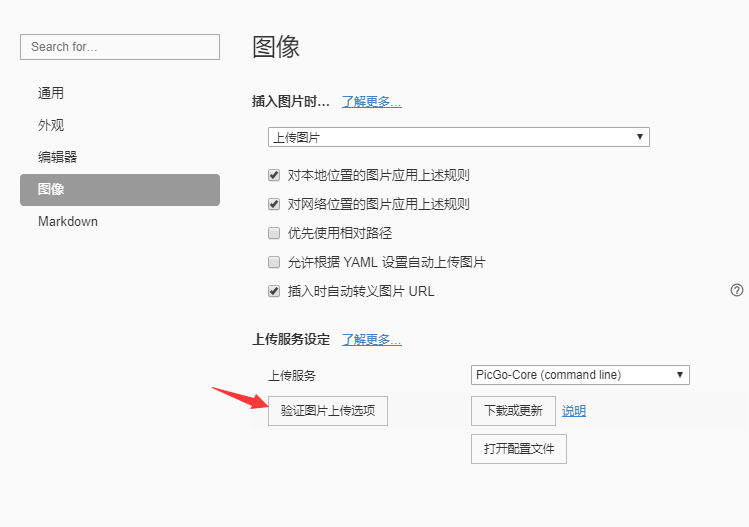


评论