


1.准备工作
gitlab的安装,需要依赖相关组件,主要有
- policycoreutils-python
- openssh
- postfix
实测默认的centerOS7上都已经安装了
1.1 检查policycoreutils-python是否安装
[root@localhost .jenkins]# rpm -qa|grep policycoreutils-python
policycoreutils-python-2.5-34.el7.x86_64
1.2 检查openssh是否安装
[root@localhost .jenkins]# rpm -qa|grep openssh
openssh-clients-7.4p1-23.el7_9.x86_64
openssh-7.4p1-23.el7_9.x86_64
openssh-server-7.4p1-23.el7_9.x86_64
1.3 检查postfix是否安装
[root@localhost .jenkins]# rpm -qa|grep postfix
postfix-2.10.1-9.el7.x86_64
2.下载gitlab安装包
从gitlab官网地址中下载:https://packages.gitlab.com/gitlab/gitlab-ce,选择适用于CentOS7的el/7版本进行下载。
wget --content-disposition https://packages.gitlab.com/gitlab/gitlab-ce/packages/el/7/gitlab-ce-16.6.8-ce.0.el7.x86_64.rpm/download.rpm镜像站下载地址:https://mirrors.tuna.tsinghua.edu.cn/gitlab-ce/yum/el7/
wget https://mirrors.tuna.tsinghua.edu.cn/gitlab-ce/yum/el7/gitlab-ce-17.1.1-ce.0.el7.x86_64.rpm3.安装gitlab
rpm -i gitlab-ce-17.1.1-ce.0.el7.x86_64.rpm当出现以下内容提示,说明gitlab安装成功;
warning: gitlab-ce-17.1.1-ce.0.el7.x86_64.rpm: Header V4 RSA/SHA1 Signature, key ID f27eab47: NOKEY
It looks like GitLab has not been configured yet; skipping the upgrade script.

       *.                  *.
      ***                 ***
     *****               *****
    .******             *******
    ********            ********
   ,,,,,,,,,***********,,,,,,,,,
  ,,,,,,,,,,,*********,,,,,,,,,,,
  .,,,,,,,,,,,*******,,,,,,,,,,,,
      ,,,,,,,,,*****,,,,,,,,,.
         ,,,,,,,****,,,,,,
            .,,,***,,,,
                ,*,.


     _______ __  __          __
    / ____(_) /_/ /   ____ _/ /_
   / / __/ / __/ /   / __ `/ __ \
  / /_/ / / /_/ /___/ /_/ / /_/ /
  \____/_/\__/_____/\__,_/_.___/


Thank you for installing GitLab!
GitLab was unable to detect a valid hostname for your instance.
Please configure a URL for your GitLab instance by setting `external_url`
configuration in /etc/gitlab/gitlab.rb file.
Then, you can start your GitLab instance by running the following command:
  sudo gitlab-ctl reconfigure

For a comprehensive list of configuration options please see the Omnibus GitLab readme
https://gitlab.com/gitlab-org/omnibus-gitlab/blob/master/README.md

Help us improve the installation experience, let us know how we did with a 1 minute survey:
https://gitlab.fra1.qualtrics.com/jfe/form/SV_6kVqZANThUQ1bZb?installation=omnibus&release=17-1
4.修改对外暴露的IP及端口
修改/etc/gitlab/gitlab.rb文件中的external_url,设置gitlab的登录地址;
vim /etc/gitlab/gitlab.rb## GitLab URL
##! URL on which GitLab will be reachable.
##! For more details on configuring external_url see:
##! https://docs.gitlab.com/omnibus/settings/configuration.html#configuring-the-external-url-for-gitlab
##!
##! Note: During installation/upgrades, the value of the environment variable
##! EXTERNAL_URL will be used to populate/replace this value.
##! On AWS EC2 instances, we also attempt to fetch the public hostname/IP
##! address from AWS. For more details, see:
##! https://docs.aws.amazon.com/AWSEC2/latest/UserGuide/instancedata-data-retrieval.html
external_url 'http://192.168.124.17:8080'重新加载配置
gitlab-ctl reconfigure #重新生成相关配置文件,执行此命令时间比较长5.启动GitLab
# 关闭防火墙 也可以自行开放端口
systemctl stop firewalld

# 开放端口号
firewall-cmd --zone=public --add-port=8080/tcp --permanent
# 重启防火墙
systemctl restart firewalld
# 重启gitlab
gitlab-ctl restart- 启动日志
ok: run: alertmanager: (pid 6113) 1s
ok: run: gitaly: (pid 6122) 1s
ok: run: gitlab-exporter: (pid 6137) 0s
ok: run: gitlab-kas: (pid 6148) 1s
ok: run: gitlab-workhorse: (pid 6156) 0s
ok: run: logrotate: (pid 6166) 0s
ok: run: nginx: (pid 6172) 1s
ok: run: node-exporter: (pid 6178) 0s
ok: run: postgres-exporter: (pid 6183) 1s
ok: run: postgresql: (pid 6193) 0s
ok: run: prometheus: (pid 6202) 0s
ok: run: puma: (pid 6212) 0s
ok: run: redis: (pid 6217) 0s
ok: run: redis-exporter: (pid 6224) 0s
ok: run: sidekiq: (pid 6235) 0s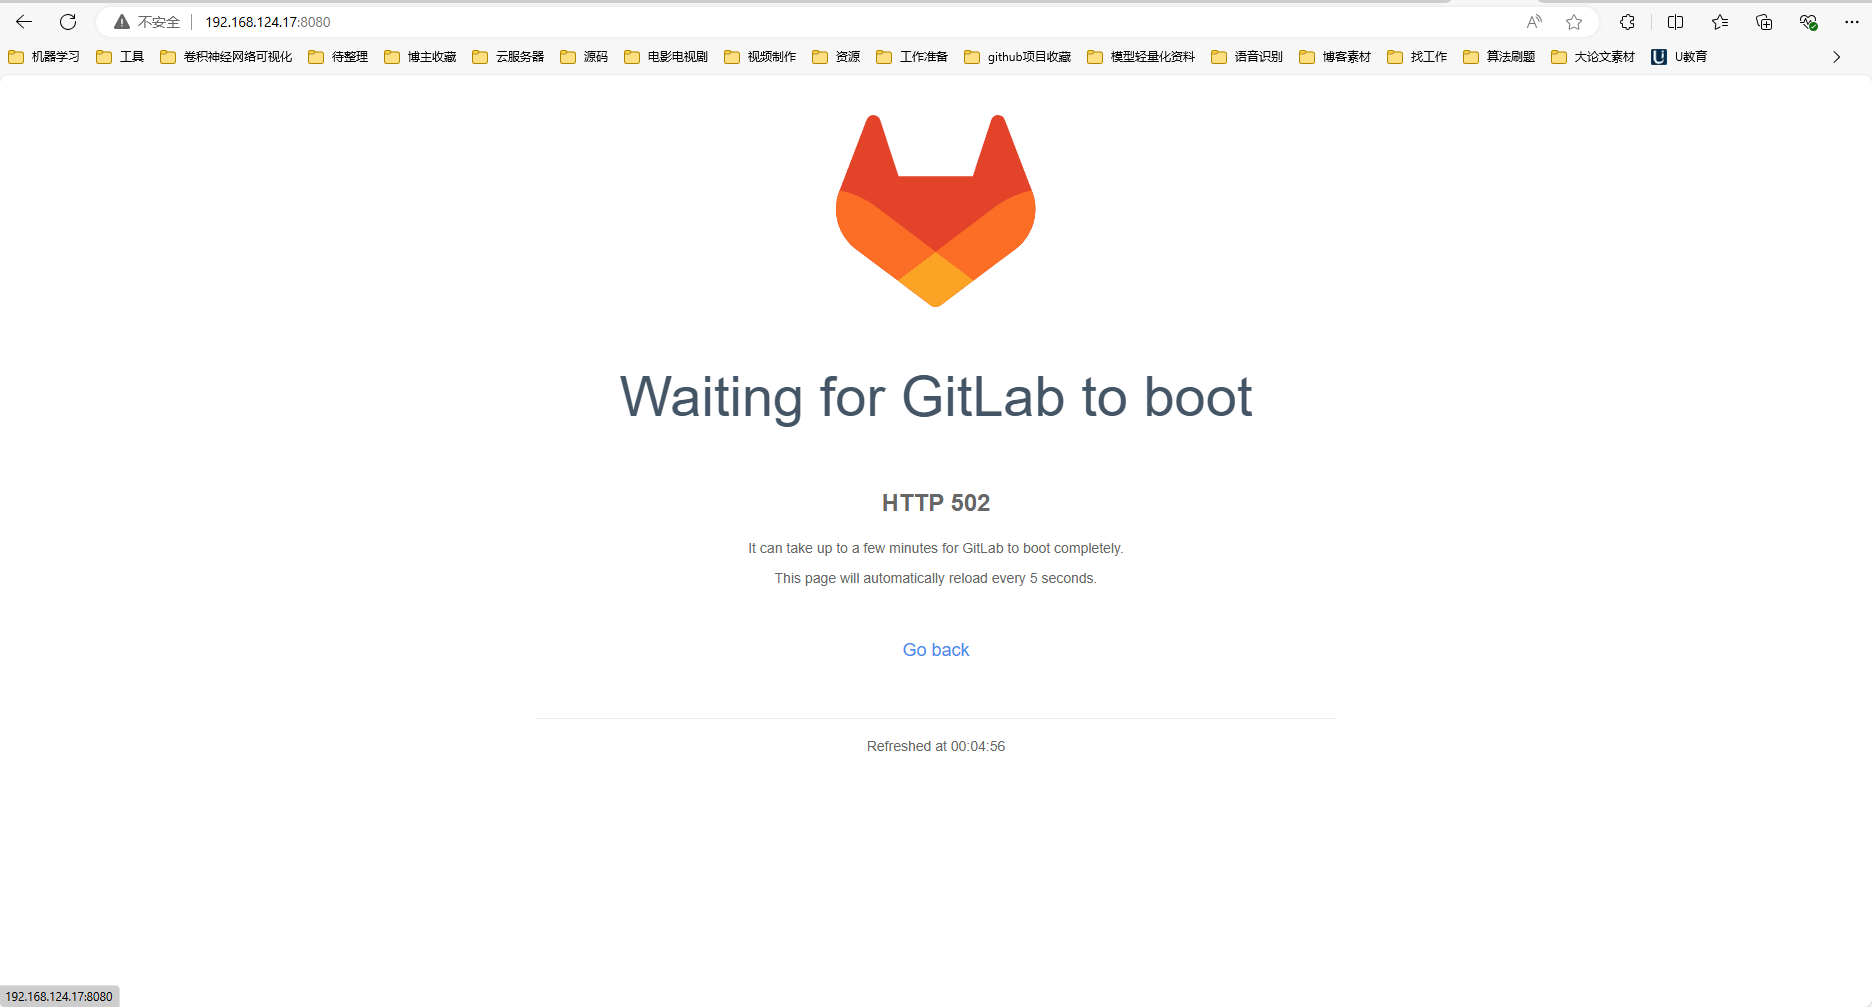
- 502问题定位:端口冲突导致的
vim /etc/gitlab/gitlab.rb- 找到如下内容
### Advanced settings
# puma['listen'] = '127.0.0.1'
# puma['port'] = 8080
# puma['socket'] = '/var/opt/gitlab/gitlab-rails/sockets/gitlab.socket'
# puma['somaxconn'] = 2048- 修改为
### Advanced settings
puma['listen'] = '127.0.0.1'
puma['port'] = 8008
# puma['socket'] = '/var/opt/gitlab/gitlab-rails/sockets/gitlab.socket'
# puma['somaxconn'] = 2048- 重新配置启动
#重新生成相关配置文件,执行此命令时间比较长
gitlab-ctl reconfigure
# 重启gitlab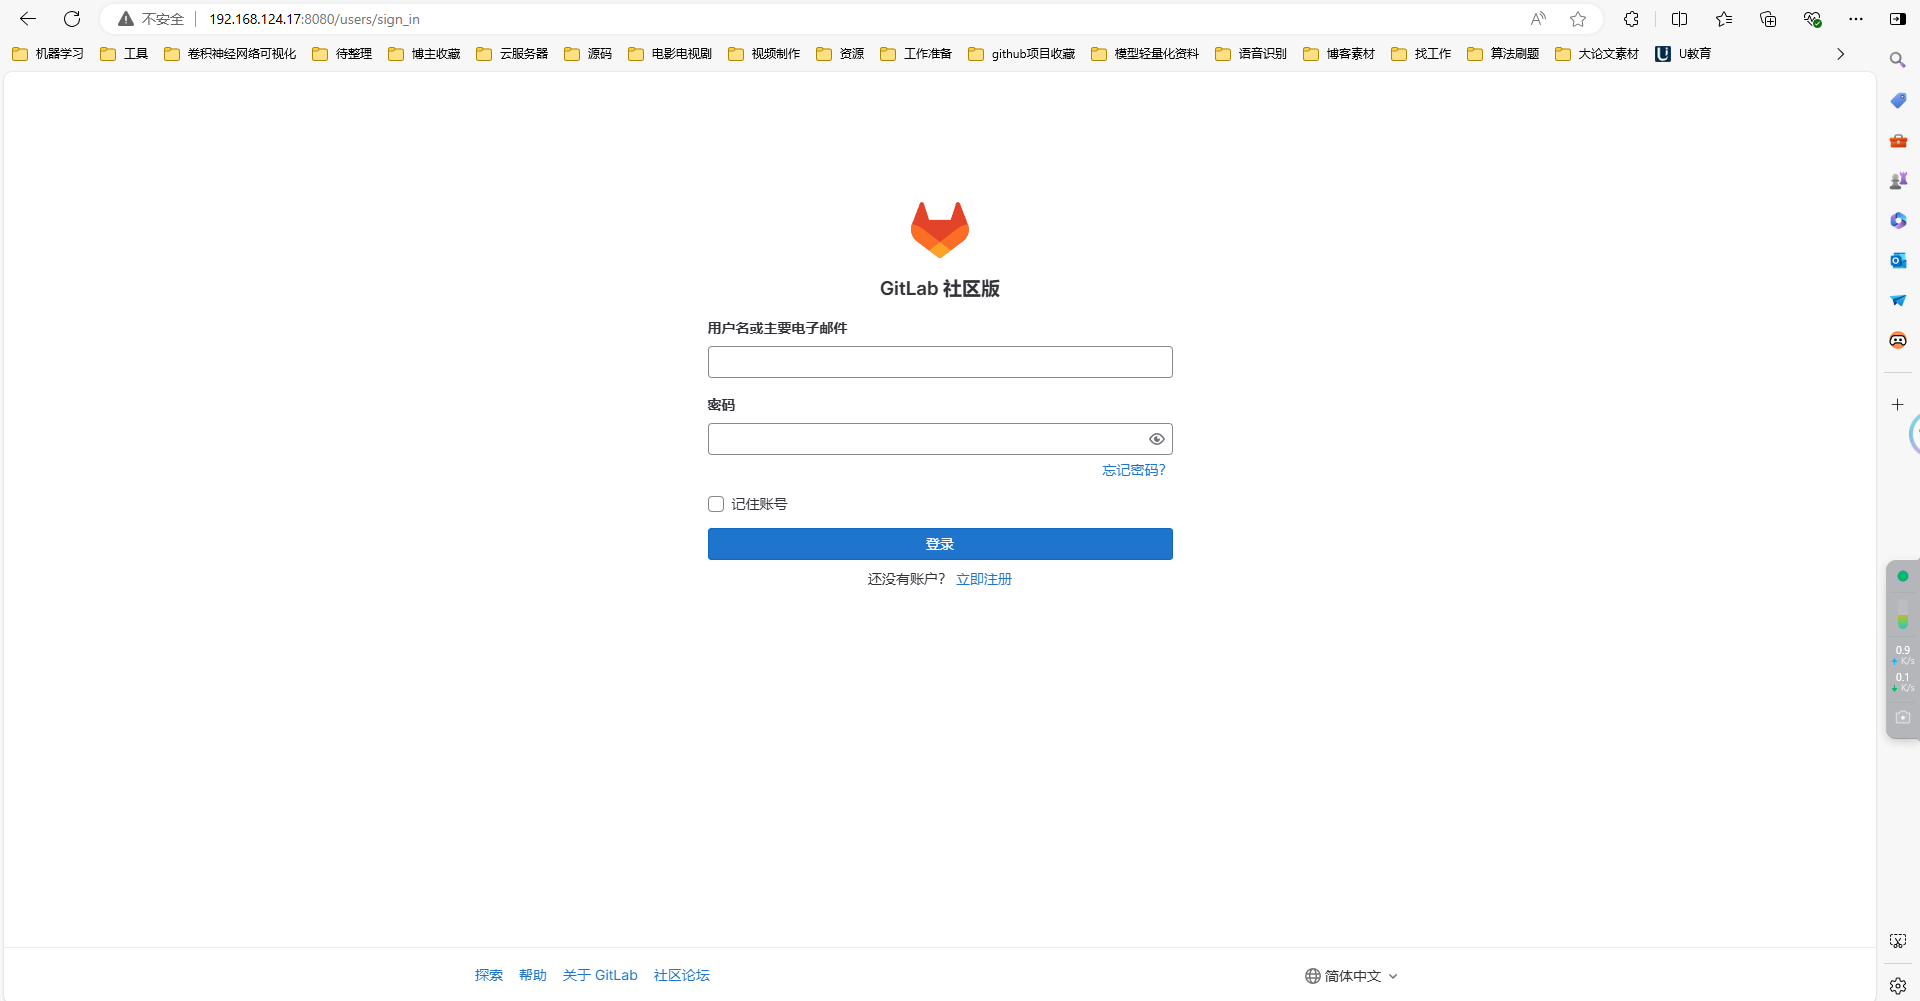
gitlab-ctl restart- 再次访问测试:http://192.168.124.17:8080/
6. 配置gitlab开机自动启动
systemctl enable gitlab-runsvdir.service
systemctl start gitlab-runsvdir.service
# 关闭gitlab的自动启动命令:
systemctl disable gitlab-runsvdir.service
评论 (0)